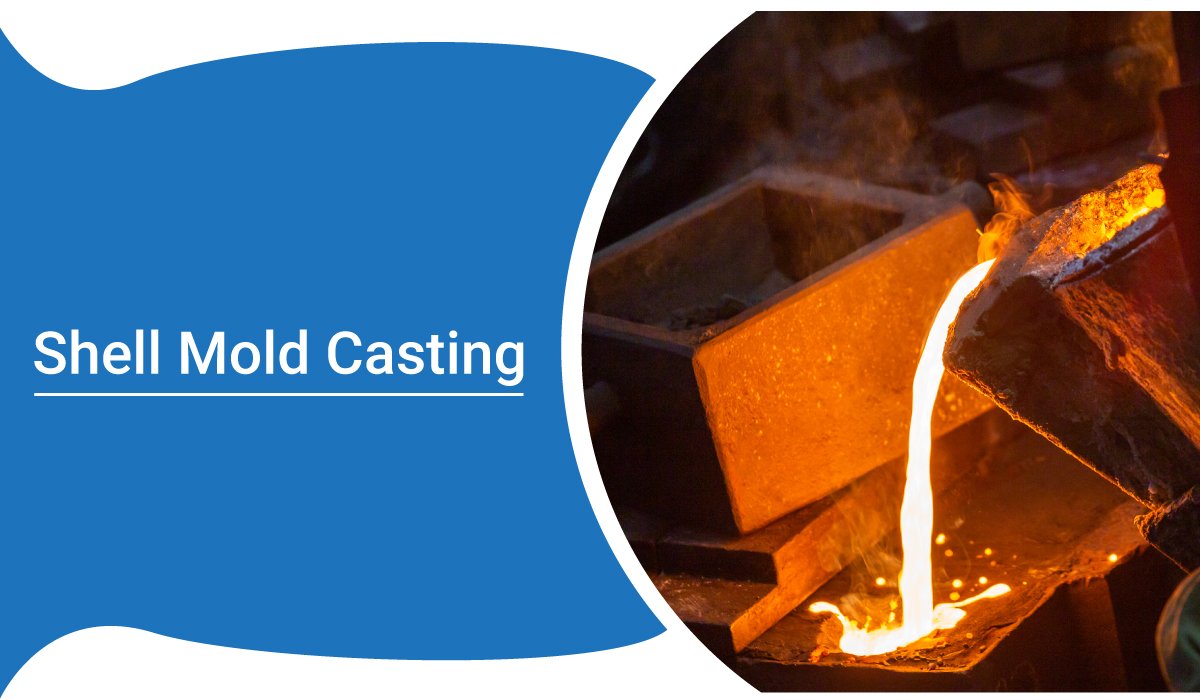
The shell casting process is referred to as a metal casting procedure in the manufacturing sector and is comparable to sand casting. However, there are some differences between shell molding and sand casting. The mold used in the shell mold casting method is a thin, reinforced shell made of hardened sand and thermosetting resin binder. The shell molding technique has better dimensional precision, a higher productivity rate, and requires less workforce than sand casting. Additionally, it should be noted that the shell molding technique and the sand casting method differ greatly from one another.
Sand is utilized in both the shell mold casting and the sand casting processes. However, the latter creates a cavity inside the sand in the flask. In striking contrast, a mold can be made during the shell molding process by mixing sand with a bonding resin and covering a heated pattern. Many parts or components, including valve bodies, bushings, gears, and cylinder heads, are made using the shell mold casting process.
The following phases make up the shell molding process, even though it sounds complicated. I will go into further depth about each stage.
STEP 1: Creating the Pattern
Making a shell molding pattern is the first stage in the shell molding procedure. The method used by various factories to create the pattern varies. However, the main objective of these factories is to create a shell molding pattern that closely resembles the part or component that will be cast.
The pattern for the shell molding process is often made of two pieces of different metals, such as iron or steel, and is shaped to match the required shape of the finished part or component. Other materials, such as aluminum for low volume manufacture or graphite to cast the reactive elements, are frequently employed in addition to steel and iron.
STEP 2: Creating the Mold
It’s time to prepare some of the resin-coated sand as soon as the shell molding design is complete. In the interim, the thermostat should be set at about 550 degrees Fahrenheit. Sand is spread over the design, heated to around 550 degrees F. The resin-coated sand granules will then merge, sedate, and solidify.
A shell mold typically has sand walls that are 7 to 8 mm thick. There is sufficient sand bonding against the scorebox walls after a few minutes. You could now empty the remaining sand, leaving a hollow core.
STEP 3: Assembly of Shell Mold
The two shell pieces must be entirely linked by utilizing glue or other fasteners and secured adequately before the shell mold casting process is complete.
It’s nearly time to put the core and shell molds together when they’re both ready. The core is removed from its core box, and the shell mold is removed from its pattern. Glue, or glue used with other fasteners, seals the two pieces together tightly.
If inserting a core is necessary, it should be done before sealing the mold. A flask will be filled with the shell mold, which a piece of backing material will support.
STEP 4: Pouring
Pouring molten metal into the cavity of the shell mold is the fourth step in the shell-casting procedure. Different metals and alloys, including steel and iron, are used in the shell-casting process. No matter the attribute, the metals or alloys are heated to a liquid condition and then poured into the cavity of the shell mold to create a firm shell.
Remember that the shell molding machine must heat metals or alloys to exceptionally high temperatures. The type of material affects the precise temperature. For instance, 3,000 degrees Fahrenheit is typically used to pour the steel alloy. Additionally, after being poured, the liquid metal must stand for a few minutes before solidifying.
STEP 5: Cooling
After the previous phase, the molten metals are given time to cool and solidify into the final shell-casting procedure shape. In general, the pattern pieces should be kept at room temperature. As pattern portions cool, the molten metal will progressively harden into a protective shell.
STEP 6: Removing Shell Mold Casting
This final stage of shell casting involves taking the casting out of the shell mold. After cooling the molten metal, the casting can be removed from the outer mold. Trimming and cleaning operations should be done beforehand to get rid of the extra metal in the feed system and the sand in the shell mold.
A two-pieced pattern is used in the shell casting process, and by “opening” the pattern; the shell mold casting can be removed easily. The freshly produced shell casting can be simultaneously ejected once the top and bottom pattern portions have separated.
Conclusion
The best way to proceed is to contact us directly if you think the shell casting method would be good for you or if you want to learn more about the shell molding machine. The Microcare Group can work with you to determine the best, most economical course of action. Know that Microcare Group won’t charge you for a quotation or consultation.
From Ahmedabad, Gujarat, India, we are a manufacturer and supplier of submersible parts, submersible pump spares, submersible motor parts, pump accessories, solar pump spares, water pump spares, and motor pump spares. A submersible pump’s strength is its study, well-made, and durable components. Since its founding in 1989, Microcare has made a name for itself as one of India’s top submersible pump spare parts providers.


